
How to Set Up Your First Unitree Go2 in 30 Minutes
You have a Unitree Go2 in front of you. Maybe it just arrived. Maybe it is the first robot anyone in your lab, your faculty, or your business has ever owned. The setup is genuinely straightforward — but the first 30 minutes are the difference between "this is going to be great" and "I am stuck on something I cannot figure out from the manual".
This guide walks through every step from opening the crate to the Go2 standing up and walking forward under your control. Total hands-on time is roughly 30 minutes. The battery charges in the background, so you can do everything else while it tops up.
Before You Start: Prerequisites
You will need:
- The Unitree Go2 itself (any variant — AIR, PRO, X, or W — works the same way for setup)
- The included battery and charger
- A smartphone with iOS 13+ or Android 8+, Bluetooth, and WiFi
- A flat area at least 2 metres square for the first walk
- A standard South African 220V power outlet
- The Unitree Go app (free, downloaded during setup)
You do not need any special tools, technical background, or developer setup for first walk. The SDK and developer integrations come later.
The 10-Step Setup
Step 1 — Unbox and inventory contents (3 minutes)
Open the shipping crate carefully and place the robot on a flat surface. Verify everything is present and undamaged:
- Go2 robot (the body is typically pre-folded into a resting posture)
- One 8000mAh battery
- Charger and South African power cable
- Remote controller (if ordered — not all configurations include one)
- Quick-start documentation pack
Inspect the robot visually for any obvious shipping damage before powering on. Anything unexpected — visible scuffs that look beyond normal handling, loose components, a battery that does not seat smoothly — is worth a photo and an email to your reseller before going further.
Step 2 — Start the battery charging (1 minute, then runs in background)
Connect the battery to the charger and plug it into a 220V outlet. The battery typically ships at 30-50% charge — that is enough to start setup immediately, so do not wait for a full charge before continuing. From completely empty, a full charge takes approximately 90 minutes.
The charger has indicator LEDs that show charging state: solid red while charging, green when full. If the LEDs flash an error pattern (typically alternating colours), the charger is reporting a fault and should not be left unattended.
Step 3 — Install the battery (2 minutes)
Locate the battery compartment on the Go2's dorsal surface (the back, between the shoulders). Slide the battery in along its rails until the latch engages with an audible click. Do not force or angle the battery during insertion — if it feels stuck, withdraw, check the orientation, and reinsert. A properly seated battery sits flush with the dorsal surface.
Step 4 — Download the Unitree Go app (3 minutes)
On your smartphone, install the Unitree Go app from the Apple App Store (iOS) or Google Play Store (Android). Create an account or sign in. The app handles every interaction with the Go2 — pairing, firmware updates, control, mission planning, telemetry, and diagnostics — so this is the single most important software dependency.
If you have used Unitree robots before, sign in with your existing account; your robots will appear in the same dashboard.
Step 5 — Power on the Go2 (2 minutes)
Press the power button on the dorsal control panel once briefly to wake the robot, then hold the button for 2-3 seconds to fully boot. The Go2 will run an automatic self-test sequence — expect 30-60 seconds of motor calibration sounds (clicks, brief servo movements) and indicator-light flashes while it confirms all joints, sensors, and the LiDAR are functioning correctly.
When the indicator lights settle to a steady pattern, the robot is ready to pair. It will remain in its resting fold posture — that is normal; standing happens later under your command.
Step 6 — Pair the robot with your phone (5 minutes)
Open the Unitree Go app and tap Connect. The app will discover the Go2 over Bluetooth. Select your robot from the list and accept the pairing prompts on both the phone and (if displayed) the robot's indicator pattern.
Once Bluetooth pairing succeeds, the app will prompt you to join the Go2's dedicated WiFi network for high-bandwidth telemetry. Accept this prompt — it is how live camera feed and detailed telemetry are streamed. The Go2 broadcasts its own network; you do not need an external WiFi router to use it.
Step 7 — Install firmware updates (5-10 minutes)
In the app, navigate to Settings > Firmware. The Go2 will check for available OTA (over-the-air) updates. New units almost always have updates waiting because hardware is manufactured ahead of the latest firmware release.
Important: do not power off, move, or unplug the robot during firmware installation. The update takes 5-10 minutes typically, longer for major version jumps. If the update appears stuck, give it a full 15 minutes before intervening. If a real failure occurs, see the FAQ at the end of this guide.
Step 8 — Stand the Go2 and take the first walk (5 minutes)
Place the Go2 in your prepared clear flat area, at least 2 metres square. In the Unitree Go app, tap Stand. The robot will rise from its resting fold to a full standing posture in 3-5 seconds.
Use the on-screen virtual joystick to walk the Go2 forward, back, left, and right at low speed. The default speed is intentionally conservative for new operators. Stay within line of sight for this first session and avoid stairs, glossy or wet surfaces, deep pile carpet, and fragile objects within 2 metres.
Step 9 — Pair the optional remote controller (4 minutes)
If your Go2 shipped with the dedicated remote controller, pair it now. In the app, navigate to Settings > Devices > Pair Controller and follow the on-screen prompt. The remote pairs over Bluetooth in under a minute.
The remote offers significantly finer locomotion control than the on-screen joystick, with dedicated buttons for posture (Stand, Lie Down, Damping), gait selection, and emergency stop. For any extended operation, the remote is the recommended control surface.
Step 10 — Return to rest and review (1 minute)
When you have finished the first session, tap Damping or Lie Down in the app to return the Go2 to a resting fold. Power off by holding the dorsal power button for 2-3 seconds. Place the battery on charge for your next session.
You are done with first setup. From here, the next steps depend on what you are using the Go2 for: explore the Unitree Go app mission features, read the SDK documentation, or jump into any developer integrations relevant to your research or business.
Common First-Setup Issues
The app cannot find the robot during pairing
Confirm the Go2 is actually powered on (indicator lights steady, not flashing). Make sure Bluetooth is enabled on your phone and the app has location permission (required for Bluetooth scanning on Android). Move within 1-2 metres of the robot during pairing — Bluetooth range can be erratic at distance.
The firmware update appears stuck
Wait a full 15 minutes before intervening. If it has genuinely failed, leave the robot powered on charge for 10 minutes, then retry. The recovery flow lives under Settings > Support in the app and can restore from a partial update.
The Go2 will not stand
Check that the battery is firmly latched and the robot completed its self-test (indicator lights steady, not flashing an error pattern). Confirm the surface is flat and clear — the Go2 will refuse to stand on a steep incline or against an obstacle directly in front of its legs.
The robot moves erratically or refuses commands
This almost always indicates an incomplete pairing or a low battery. Check the battery level in the app (anything under 15% triggers conservative behaviour). If pairing seems unstable, reconnect via the app's Connect screen.
What to Read Next
Now that the Go2 is alive and walking, here is where to go next depending on what you are using it for:
- Choosing between Go2 variants for your specific workload: The Complete Guide to Buying a Quadruped Robot
- Understanding when you actually need the industrial B2 instead of a Go2: What Does IP67 Actually Mean for a Robot?
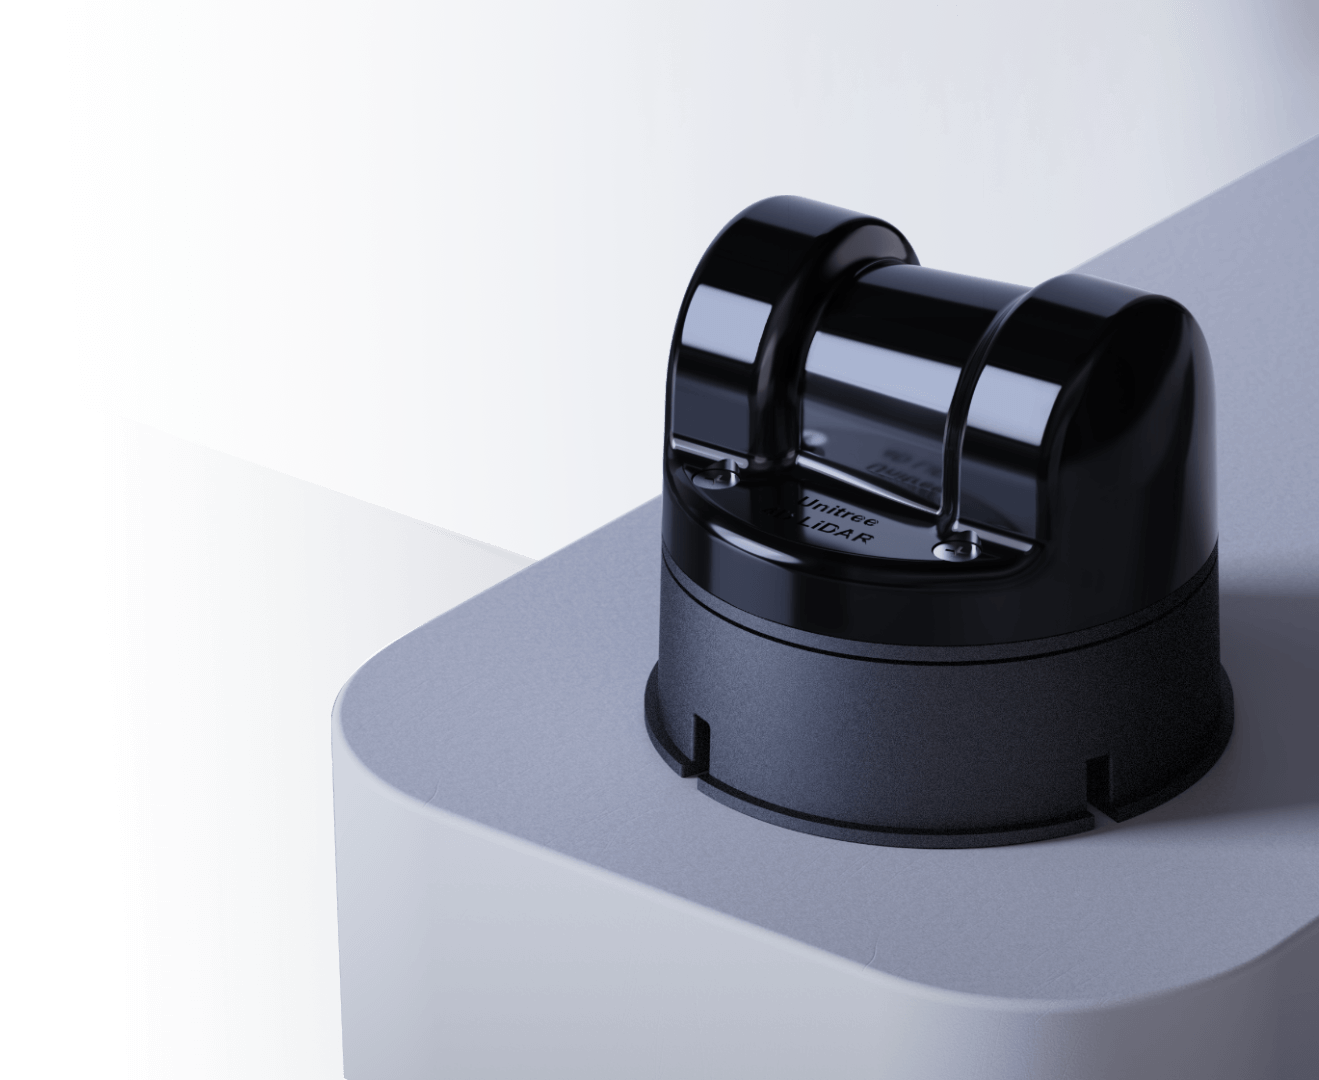
- The role of the 4D LiDAR L2 (the sensor in the Go2's head): The Role of LiDAR in Modern Robotics
- Why the Go2 is the most accessible quadruped on the market: Unitree Go2: The Most Accessible Robot Dog in the World
If you hit anything during setup that the documentation does not cover, MCM Robotics provides local technical support with every Go2 sold — reach out and we will help you through it.
Frequently Asked Questions
How long does it take to set up a Unitree Go2?
Approximately 30 minutes of hands-on time from unboxing to first walk, with the battery charging in the background. The longest single step is usually the firmware update, which can run 5-10 minutes depending on update size. If you wait for a full battery charge before starting, add another 90 minutes.
What is in the box with a Unitree Go2?
A standard Go2 ships with the robot itself, one 8000mAh battery, a charger and power cable, a quick-start documentation pack, and the dedicated remote controller if ordered. The Unitree 4D LiDAR L2 is integrated into the robot head. The Unitree Go mobile app is downloaded separately from the App Store or Google Play.
Do I need WiFi to operate the Unitree Go2?
Initial pairing uses Bluetooth, but the Go2 broadcasts its own WiFi network for high-bandwidth telemetry and video streaming to the app once connected. You do not need an external WiFi network for the robot itself, but you do need a working internet connection on your phone to download the Unitree Go app and any firmware updates.
Where should I do the first walk?
A clear, flat indoor area at least 2 metres square is ideal. Avoid carpets with deep pile, glossy floors with low traction, stairs, or areas with fragile objects within 2 metres. The Go2 is agile but it does have a learning curve for new operators — stay within line of sight and walk at low speed for the first session.
What happens if a firmware update fails?
Firmware updates are designed to be recoverable. If an update fails or stalls, leave the robot powered and on charge for 10 minutes, then retry from the app. If the failure persists, the Unitree Go app has a recovery flow under Settings > Support. If you bought through MCM Robotics, contact our team — local support is included with every unit and we can typically resolve update issues remotely.
Can I use the Unitree Go2 outdoors after setup?
The consumer Go2 family is designed for controlled environments. It is fine for short outdoor sessions in fair weather but is not IP67-rated and is not designed for sustained outdoor industrial use. If your deployment involves dust, rain, or temperature extremes, the IP67-rated Unitree B2 is the correct platform. See our IP67 explainer for the full reasoning.